Filling Lotion BottlesUpdated a year ago
Lotion is a popular product and can be an easy addition to your product line. Unfortunately the most difficult part of lotion making can often be the final step, Packaging. Although this may not be a big issue when you are making small batches, it can be especially tricky when you start producing on a larger scale. Here are some of our favorite tips and tricks for filling those pesky lotion bottles.
POUR THIN
If you have a steady hand, you can pour the lotion at a thin consistency right into your bottles. To get the lotion to be the right consistency, slowly heat the lotion and be careful not to break the emulsion by heating it too much as it will cause it to separate. You also want to be aware of the maximum heating temperature of your preservative and be sure to keep the heat below that 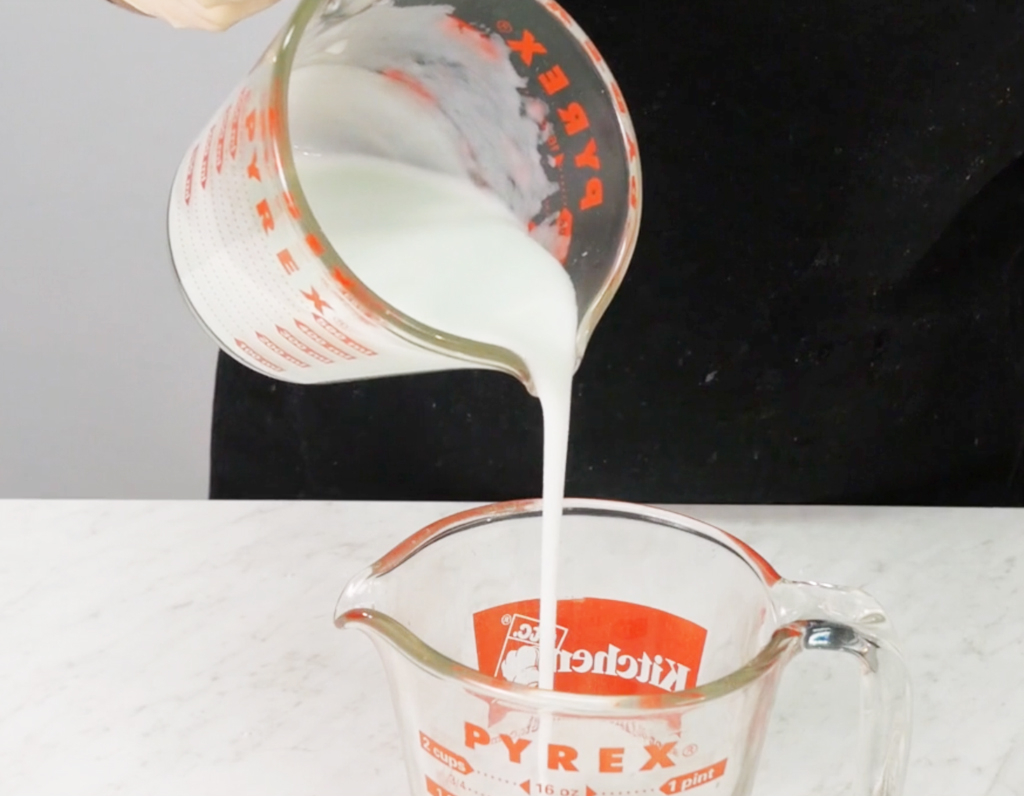 temperature. Exceeding the maximum temperature can inactivate the preservative, allowing bacteria to grow. When your lotion is warmed to the proper consistency, begin filling the bottles. Many handmade artisans prefer to pour freehand or use a funnel in the neck of the bottle. In our experience when the lotion starts to thicken as it begins to cool, the funnel can become clogged. We prefer pouring freehand using our Mix & Pour Funnel Pitchers –the long nose on the pitcher helps to keep a controlled stream while filling.
temperature. Exceeding the maximum temperature can inactivate the preservative, allowing bacteria to grow. When your lotion is warmed to the proper consistency, begin filling the bottles. Many handmade artisans prefer to pour freehand or use a funnel in the neck of the bottle. In our experience when the lotion starts to thicken as it begins to cool, the funnel can become clogged. We prefer pouring freehand using our Mix & Pour Funnel Pitchers –the long nose on the pitcher helps to keep a controlled stream while filling.TIP: Much like when creating the formulation, a slow, steady heat such as from a double boiler in a heat safe container would work well when heating the product to reach the right consistency for pouring(You can then pour the product a secondary container for pouring such as our Mix & Pour Funnel Pitchers if you so wished). Use a thermometer (Such as a candy or liquid thermometer) to monitor the temperature to ensure you don't heat it to high or too quickly.
PASTRY OR CELLO BAG
Another option is using a disposable pastry bag or a cone shaped bag such as a Clear Cello Bag (12” x 6” cone). Simply fill the bag most of the way with the lotion, twist the end so it can be held comfortably in your hand, (which provides pressure inside) and when ready trim the tip off. Once the tip has been trimmed, the lotion will start to pour out quickly. Be sure to have an empty bottle ready! Twist the top of the bag and squeeze it gently as the lotion is poured to keep a continuous pressure so that it continues to flow. This makes a very quick way to fill the bottles but it can get a little messy when it comes time to refill the bag and clean up.
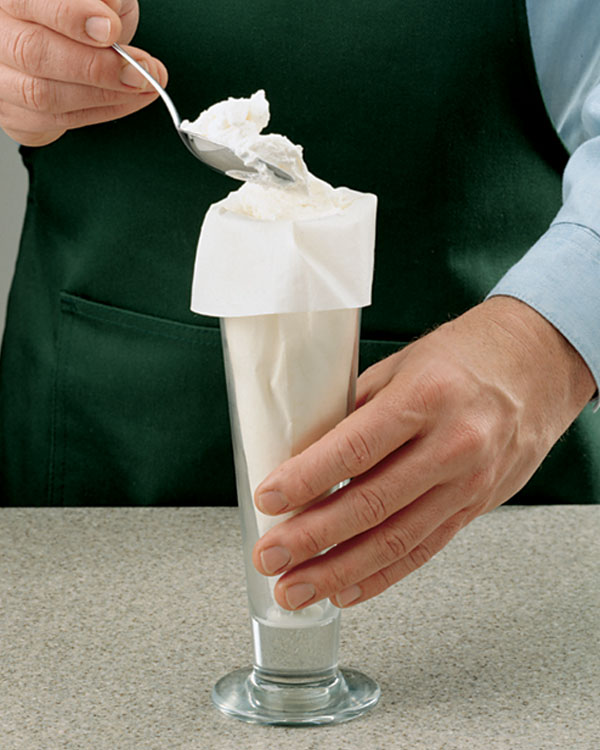
TIP: when filling the bags, a good idea is to prop the bag inside a tall glass or vase container so that it stays upright as you fill it. Flip the top of the bag along the outside edge of the container (you can secure this folded section with a tie or rubber band for extra stability) When filled, remove the bag and twist the top closed.
GALLON JUG PUMP
Our third and favorite way to fill lotion bottles is by using a gallon jug pump. Several of the Crafter’s Choice Pre-made Lotion Bases are already sold in a gallon jug; you simply need to add a pump top after adding your fragrance and color.
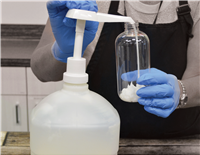 This method is great when making lotion from scratch. After you make your batch of lotion, instead of attempting to pour it into smaller bottles, fill a gallon or half-gallon jug with the finished product. Attach a pump top to the jug and fill your individual bottles by pumping the finished lotion into them.